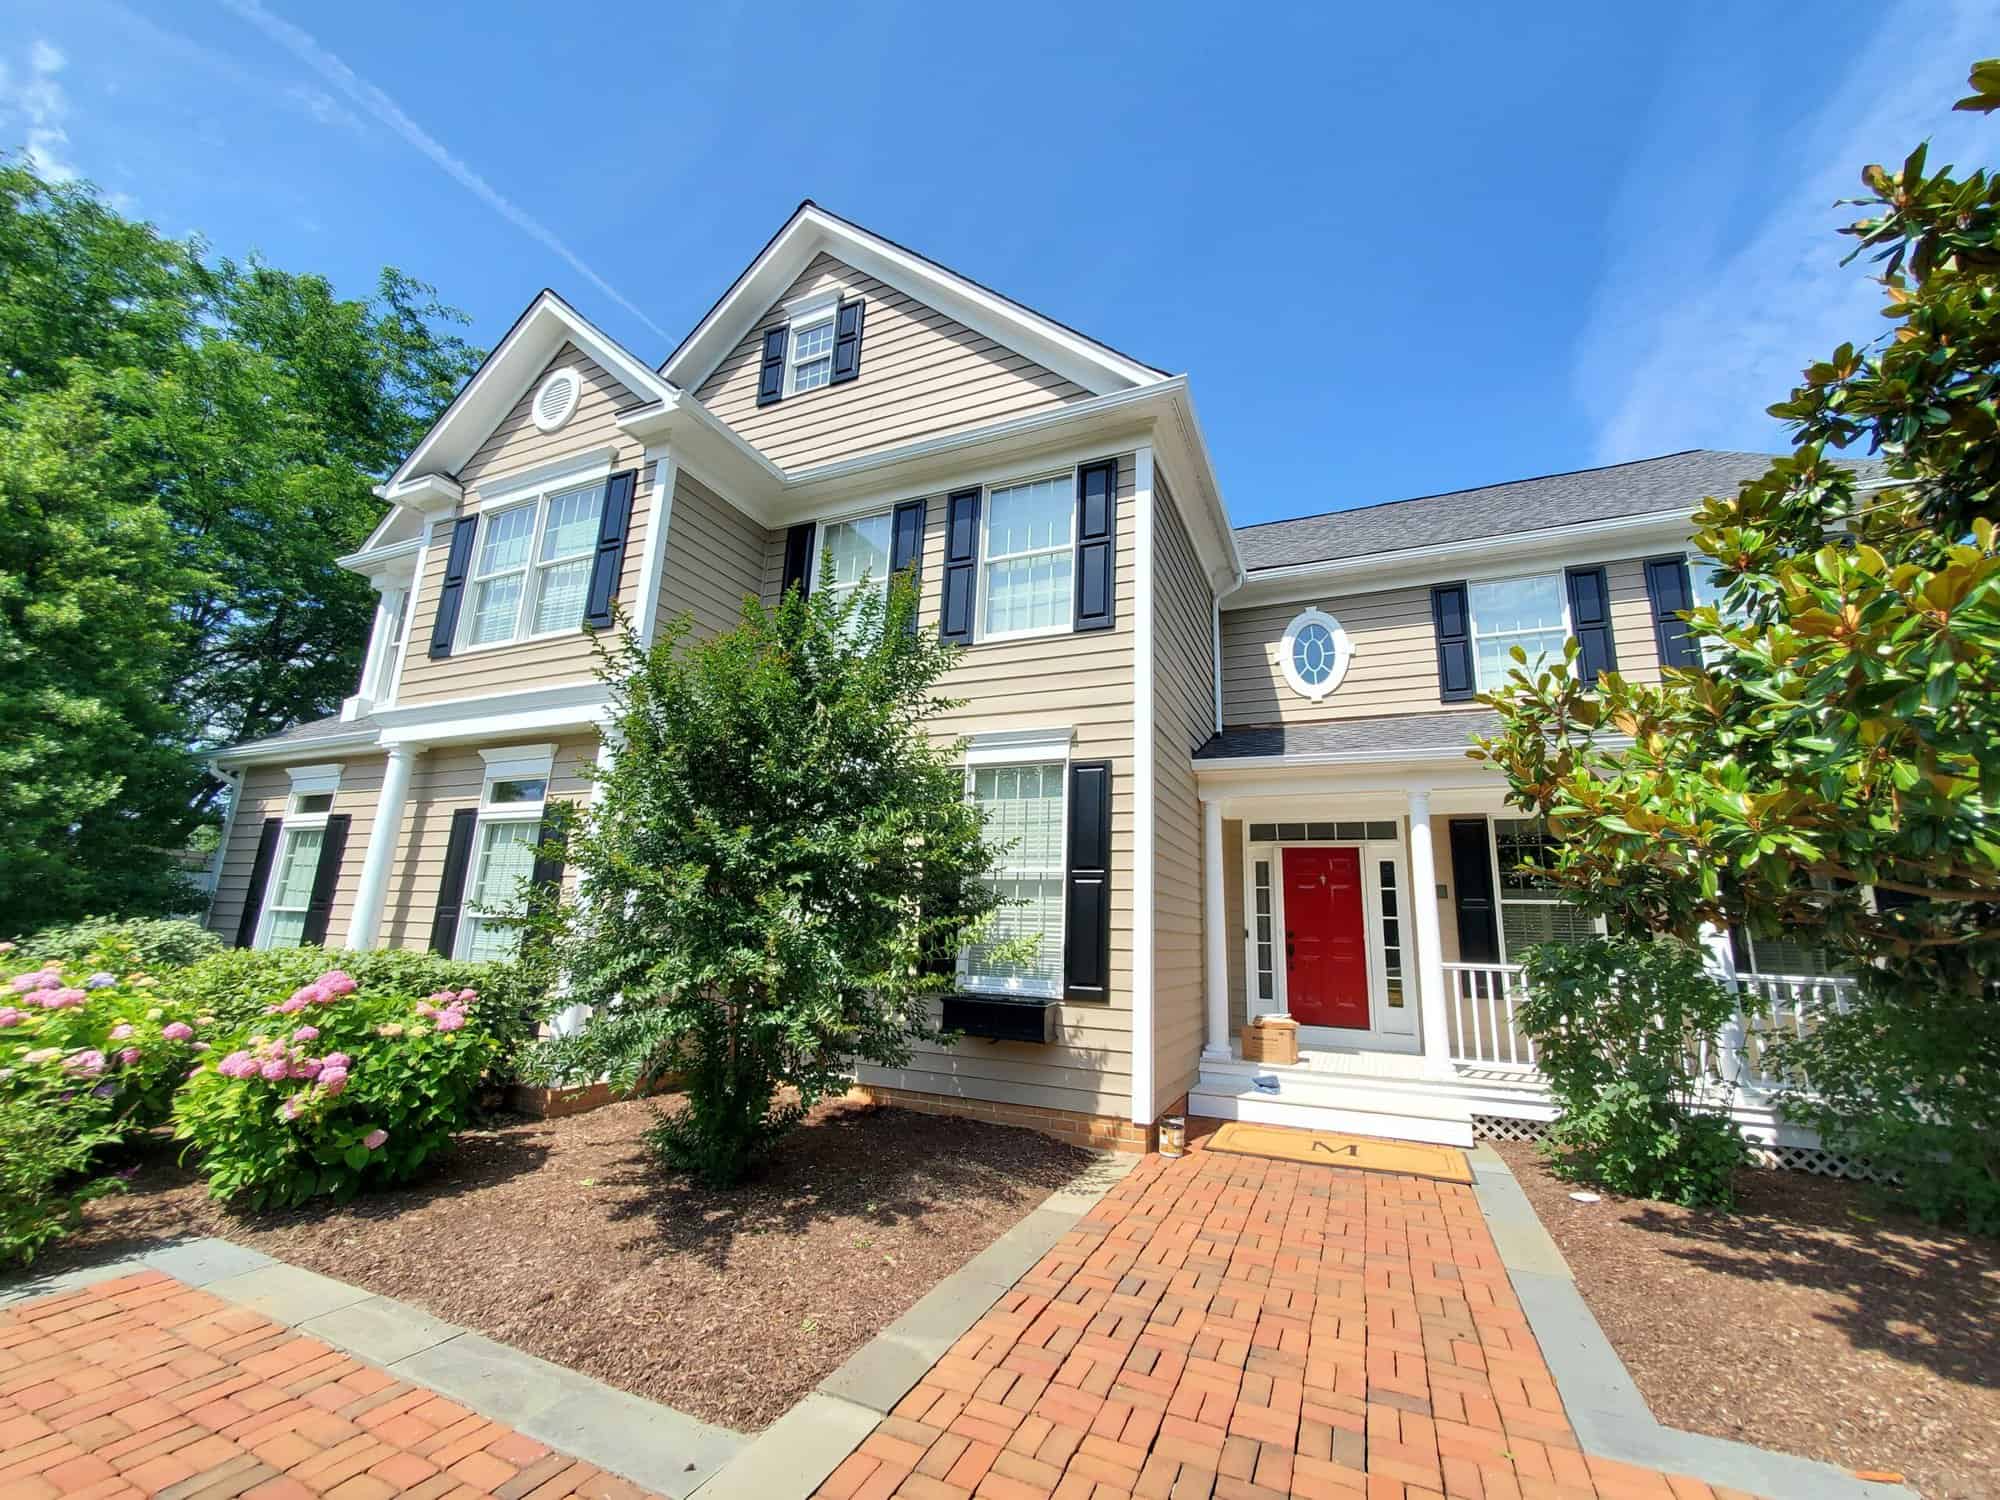
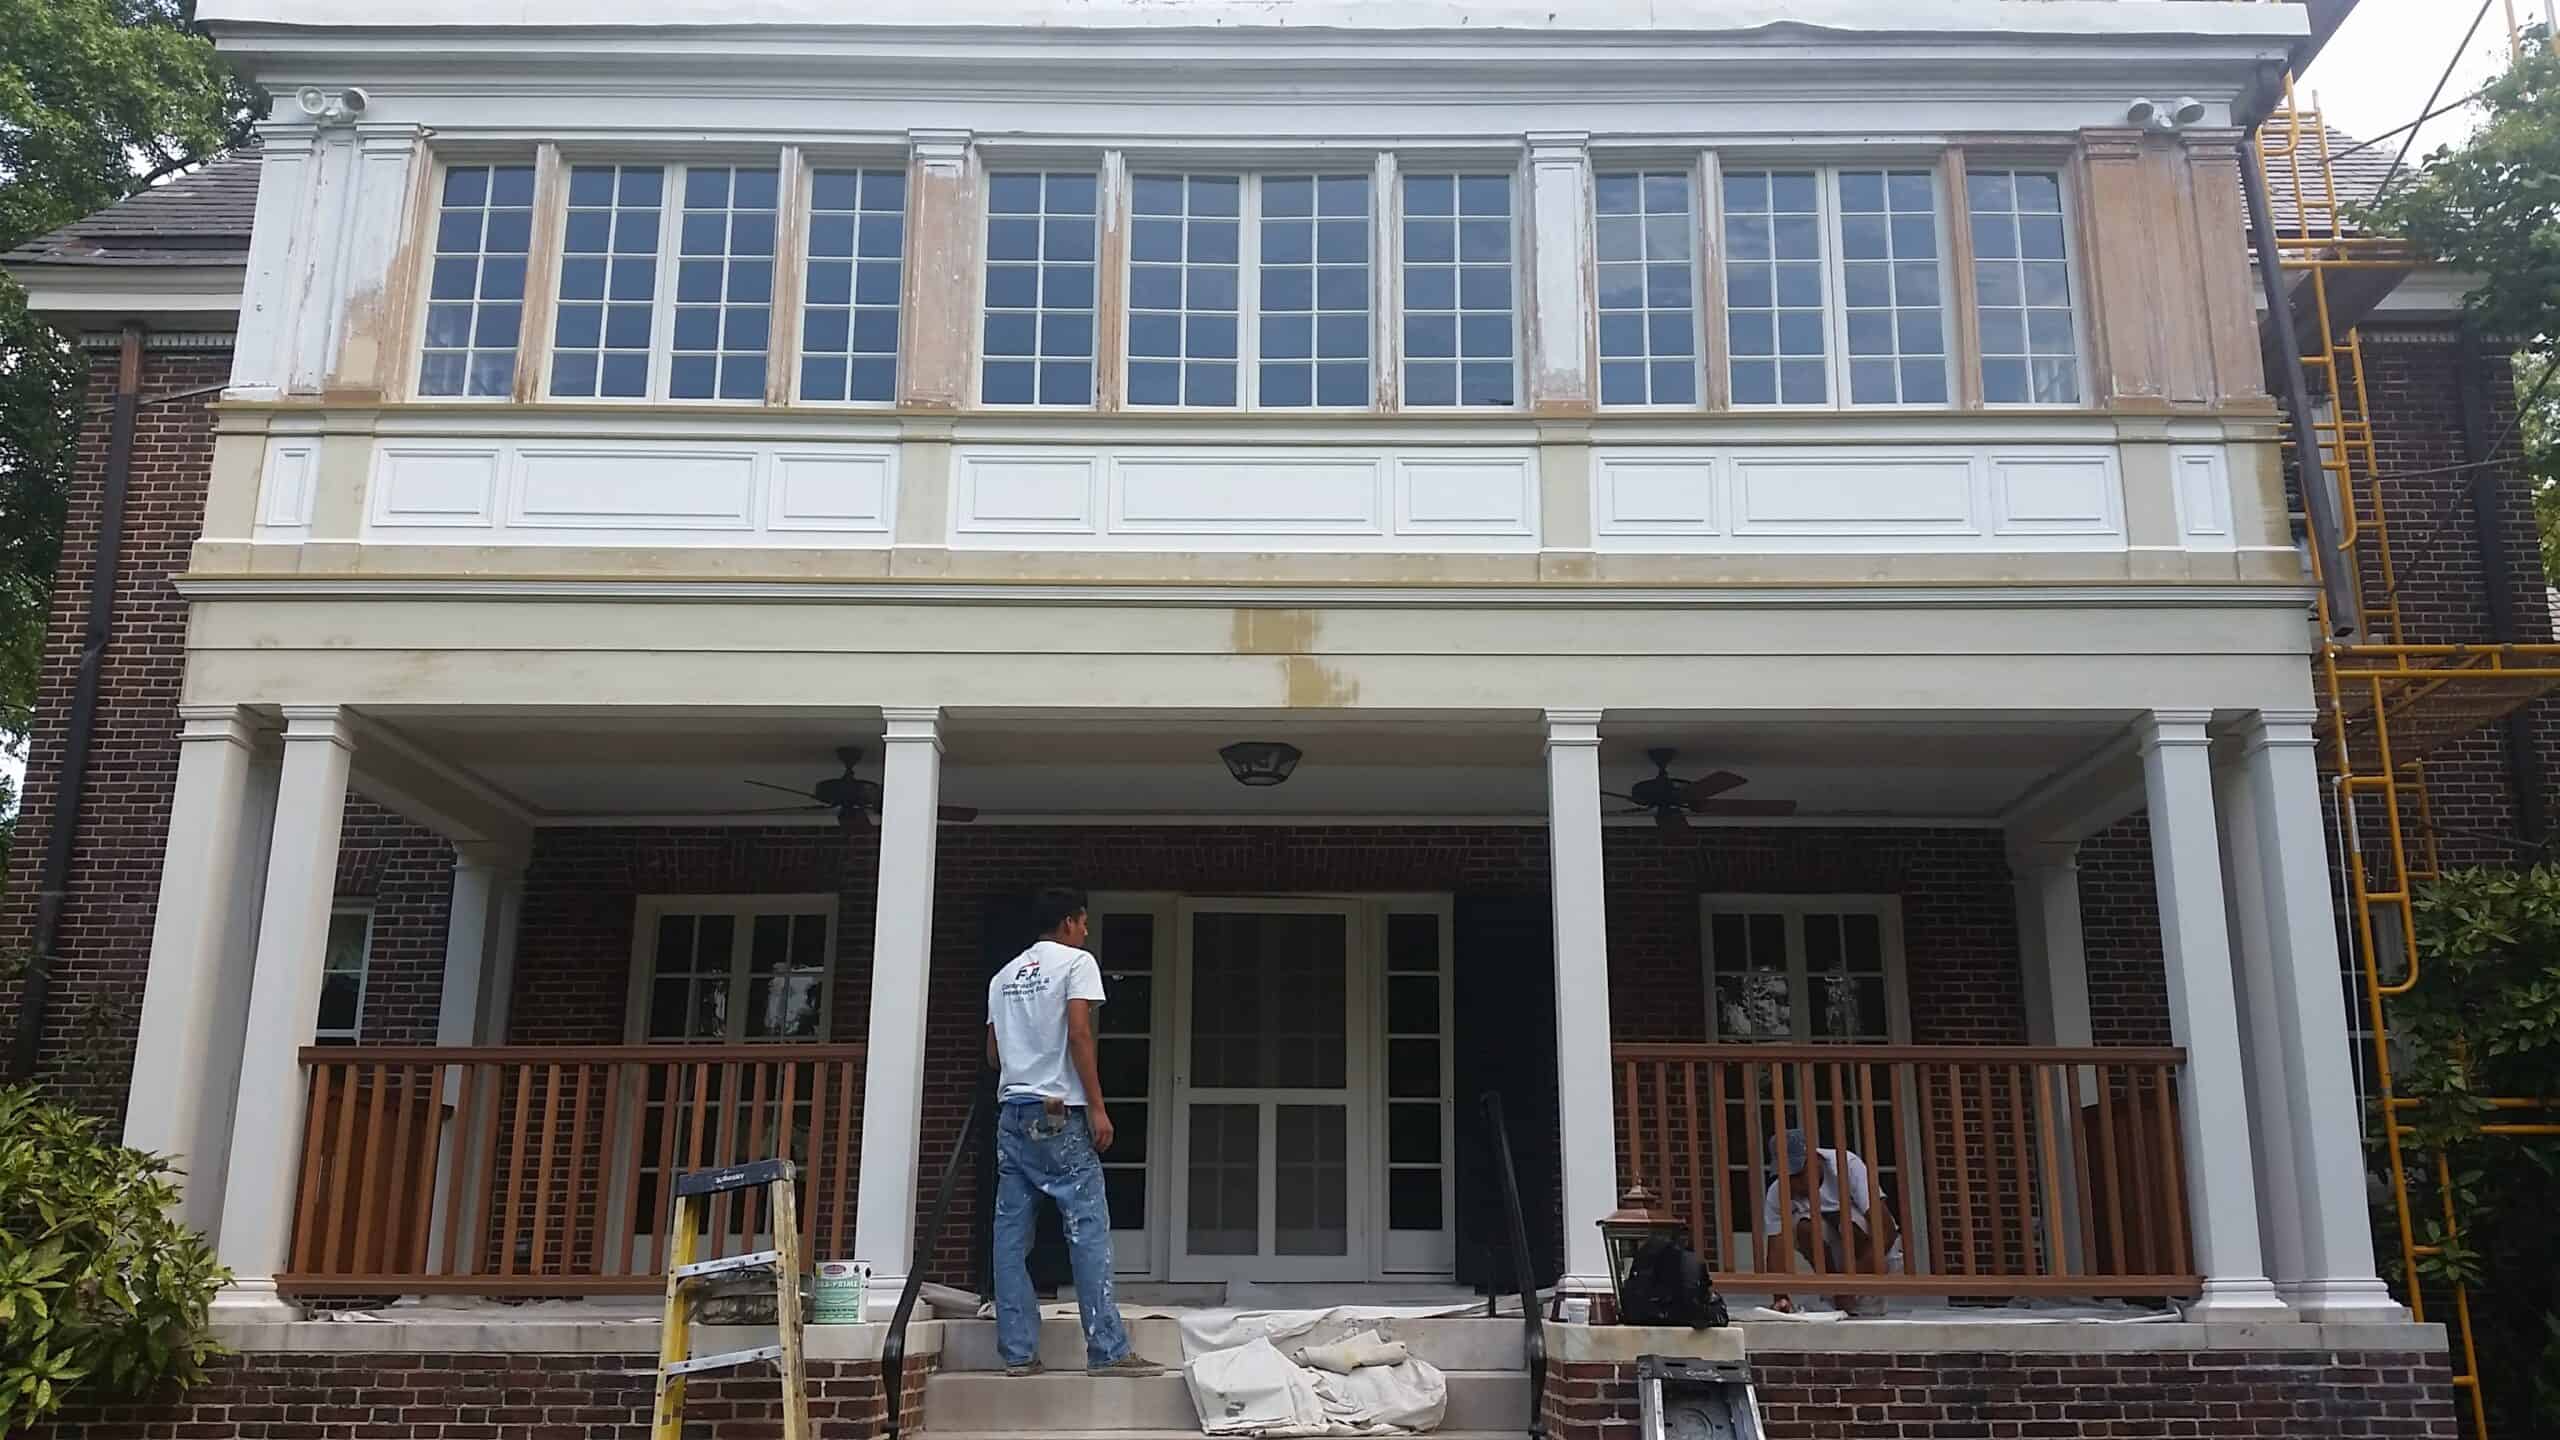
A fresh coat of paint can work wonders for your home’s exterior—enhancing its beauty, durability, and value. But here’s the truth: the secret to a lasting and professional finish comes down to preparation to paint exterior of house.
Skipping prep work can lead to paint that peels, fades, or doesn’t stick properly. This guide will break down the essential steps for getting your home in Sparks Glencoe, MD ready for exterior painting. From cleaning and sanding to repairs and priming, we’ll make it easy to understand and implement.
Let’s explore the steps that will ensure your paint job looks flawless and stands the test of time.
Key Takeaways:
- This blog outlines the preparation to paint exterior of house, emphasizing steps like cleaning, repairs, sanding, and priming for lasting results.
- Proper prep work ensures paint adheres better, looks flawless, and stands up to time and weather.
- Professional exterior painters in Leawood can save time and deliver a hassle-free, high-quality finish that protects your home’s value.
Preparation to Paint Exterior of House: Step-by-Step Guide
Did you know a fresh coat of exterior paint can increase your home’s value by up to 5%? It’s not just about aesthetics—a quality paint job protects your home from the elements, improves durability, and boosts curb appeal. After learning the signs when it is time to paint your house exterior, painting prep is the next important thing to consider.
Proper preparation to paint the exterior of your house. Here’s a guide on how our professional exterior painters in Sparks Glencoe MD do exterior house paint prep:
Step 1: Clean the Surface Completely
A dirty surface is a dealbreaker for good adhesion. Dirt, mildew, and peeling paint will prevent your new coat from sticking and holding up.
How to Do It Right:
- Power Washing: Use a pressure washer with a wide nozzle setting to blast away layers of grime, dust, and loose paint. Start from the top and work your way down to prevent streaking. Be careful around delicate areas like trim or windows, as high pressure can cause damage. Test the pressure on a small spot first.
- Tackle Mold and Mildew: For mold and mildew, mix one part bleach to three parts water in a spray bottle or bucket. Apply the solution directly to affected areas, let it sit for about 10-15 minutes, and scrub it away with a stiff brush. Rinse thoroughly with clean water to avoid residue.
- Hand Scrubbing: For fragile or hard-to-reach areas, use a soft brush and mild soap to clean surfaces. This is especially useful for older homes with delicate wood siding or trim.
Starting with a clean slate gives your paint the best chance to adhere and last.
Step 2: Fix Any Exterior Damage
Your exterior paint project is only as good as the surface beneath it. Damaged siding, stucco cracks, or rust will come back to haunt you if left untreated.
What to Look For and Fix:
- Wood Surfaces: Inspect all wood siding and trim for soft spots, rot, or warping. For boards with rot, replace them entirely. For minor cracks, use exterior-grade wood filler to patch the damage. Once dry, sand the area smoothly so it blends with the surrounding surface.
- Stucco and Brick: Check for cracks, chips, or holes. Use a stucco patch compound for stucco or masonry filler for brick and concrete. Apply the patch evenly using a trowel and smooth it out to match the existing texture.
- Metal Areas: Look for rusted spots, which can weaken the metal and ruin your finish. Use a wire brush or sandpaper to remove all traces of rust. Follow up with a rust-inhibiting primer to protect the surface before painting.
This step ensures a solid base for paint, so your hard work doesn’t go to waste.
Step 3: Smooth and Sand Imperfections
Why It’s ImportantSanding smooths out rough spots and old paint, creating an even surface that lets your paint stick properly and look stunning.
How to Sand Effectively:
- Remove Loose Paint: Use a paint scraper or wire brush to eliminate peeling, chipping, or flaking paint. Focus on areas where the paint is no longer adhering to the surface.
- Smooth Rough Areas: Use medium-grit sandpaper (around 80-100 grit) to sand down any rough spots or leftover paint edges. Move in a circular or back-and-forth motion until you achieve a smoother transition.
- Fine-Tune the Finish: Once the surface is mostly smooth, switch to fine-grit sandpaper (150-180 grit) for a polished, paint-ready result. Pay extra attention to areas where repairs were made to ensure a seamless look.
Smooth surfaces mean smoother results. Don’t skip this step.
Step 4: Apply the Right Primer
Primer is like the undercoat that sets the stage for your paint. It seals surfaces, covers repairs, and helps paint adhere properly.
How to Prime Like a Pro:
- Choose the Right Primer: Use oil-based primer for bare wood, while water-based primers work well on stucco, masonry, and previously painted surfaces. For metal, always use a rust-inhibiting primer.
- Spot Prime Repairs: Apply primer to all patched and sanded areas first to create a uniform base. For best results, brush on primer evenly, feathering out the edges.
- Prime the Entire Surface: If you’re making a drastic color change or dealing with porous surfaces, priming the entire house ensures better coverage and longevity for your topcoat.
Skipping primer might save you a little time, but it’ll cost you quality and durability in the long run.
Step 5: Protect Everything Around the House
Overspray and spills can easily ruin windows, plants, decks, or pathways. A little preparation here saves a lot of cleanup later.
How to Keep It Clean:
- Windows and Fixtures: Use painter’s tape around the edges of windows, trim, and light fixtures. Cover larger areas with plastic sheeting secured with tape to block paint splatter.
- Landscaping: Lay drop cloths or plastic tarps over flower beds, shrubs, and grass. Anchor the covers with small rocks or stakes to keep them in place during windy conditions.
- Decks and Driveways: Protect walkways, patios, and decks with canvas drop cloths, which are durable and reusable. Avoid thin plastic sheets here as they can tear easily.
This simple precaution lets you focus on painting without worrying about the aftermath.
Why Trust Professional Exterior Painters to Handle Prep Work?
Prepping to paint an exterior is no small task—and doing it right takes time, effort, and expertise. That’s why hiring professional exterior painters in Sparks Glencoe MD can make all the difference.
Here’s what you get:
- Detailed prep work that guarantees a smooth, lasting finish.
- Access to professional tools and materials that speed up the process.
- Experienced pros who know exactly how to repair, clean, and prime every surface.
- Choosing experts saves you time, stress, and ensures the job is done perfectly from start to finish.
At FR Contractors and Investors, Inc., we take care of every detail so you don’t have to. Serving Roland Park, Parkton, and surrounding areas, we handle everything—from prepping your home to delivering a beautiful, durable paint job. Our process is hassle-free, thorough, and designed to make your house look its best.
Final Thoughts
A flawless paint project starts with thorough preparation to paint exterior of house. From cleaning off grime and fixing damages to sanding and priming, every step builds a foundation for success. The right prep work makes all the difference between paint that fades fast and one that stands strong for years.
Choosing experts saves you time, stress, and ensures the job is done perfectly from start to finish. Our professional painters bring experience and precision, reducing the chances of mistakes and saving you money in the long run by delivering a superior, durable finish.
Ready to get started? Call us at 443-775-2994 for a FREE estimate today. Let’s make your exterior painting project smooth, stress-free, and stunning!


