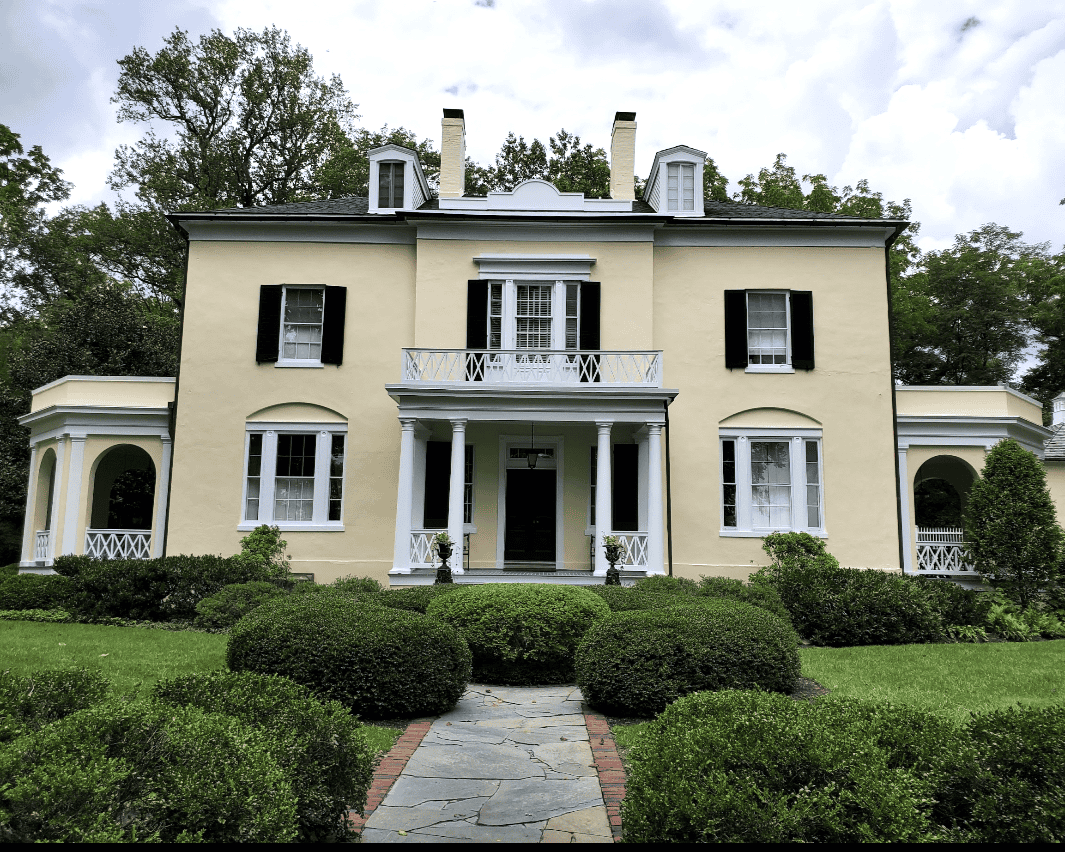
Are you thinking about repainting your home but unsure about the right approach for stucco walls? Learning how to paint stucco exterior walls properly can significantly enhance the look of your home and increase its resilience against weathering. Stucco surfaces, with their unique texture, require particular painting techniques to ensure optimal coverage and aesthetic appeal.
At FR Contractors and Investors, Inc., we specialize in exterior house painting services, serving Timonium, MD, and the surrounding areas. We have extensive experience with the nuances of painting stucco exteriors and are here to make the process straightforward for you.
In this blog, we’ll walk you through the steps on how to paint stucco exterior walls, offering easy-to-follow tips to help you achieve a professional finish. Let us guide you through updating your home’s exterior smoothly and efficiently.
Key Takeaways:
- Discover essential techniques on how to paint stucco exterior walls to enhance both appearance and durability.
- Learn about the best practices for preparing, repairing, and painting stucco to ensure a long-lasting finish.
- Find out how our specialized exterior house painting services can simplify your stucco painting project and deliver professional results.

How to Paint Stucco Exterior Walls
Painting stucco can be more challenging than other surfaces due to its textured nature. Stucco requires a careful approach to ensure that the finish is both durable and visually appealing. At FR Contractors and Investors, Inc., we’ve refined our process on how to paint stucco exterior walls, ensuring each project is executed with precision and care.
Step 1: Gather and Prepare Materials
Before we begin any painting project, it’s essential to have the right materials and tools on hand. For stucco, this includes:
- High-quality exterior acrylic or elastomeric paint
- Exterior primer (masonry or stucco-specific)
- Paint sprayer, rollers, and brushes
- Drop cloths and painter’s tape
- Scrub brush and power washer
- Sandpaper (medium grit)
- Stucco patch or repair compound
- Caulk and caulking gun
- Ladder or scaffolding
Step 2: Clean the Stucco Surface
Proper preparation of the stucco surface is essential for a successful paint job. We start with a thorough cleaning to remove any dirt, dust, mildew, or loose paint. This is typically done with a power washer, which efficiently cleans the textured surface without damaging it. After power washing, it’s important to allow the stucco to dry completely before proceeding.
Drying can take between 24 to 48 hours, depending on the weather conditions. Ensuring the stucco is completely dry is vital for the primer and paint to adhere properly and create a long-lasting finish.
Step 3: Repair and Patch
Before we start painting, it’s important to address any damage to ensure the stucco surface is in the best possible condition. Our house painters thoroughly inspects the stucco for any cracks or holes. Using a high-quality stucco patch or repair compound, we fill these imperfections carefully, adhering to the manufacturer’s guidelines for application and curing times.
Once the repair material has fully dried, we proceed with sanding the areas. This step is done gently to create a smooth, even surface that will help achieve a uniform finish when painted.
Step 4: Protect Surrounding Areas
As we prepare to paint, protecting your property is one of our top priorities. We take great care to cover all nearby plants, walkways, and any other surfaces that might be affected during the painting process. Using sturdy drop cloths, we ensure complete coverage to avoid any paint spills or splashes.
We also apply painter’s tape around all windows, doors, and trim with precision. This ensures that paint is applied only where needed, maintaining a clean and professional look around the detailed areas of your home’s exterior. This attention to detail helps us provide a seamless painting experience while safeguarding your property’s other surfaces.
Step 5: Apply Primer
Applying primer is a fundamental step in ensuring your stucco walls are ready for paint, particularly because it helps the paint adhere better and last longer. We always choose a high-quality exterior primer that is specifically formulated for masonry or stucco surfaces. This ensures that the primer will hold up against the unique texture and composition of stucco.
Our house painters uses either a paint sprayer, roller, or brush, depending on the specific needs of the project, to apply a thorough coat of primer. This step is done meticulously to cover all surfaces evenly, providing a consistent base for the topcoat. After application, we allow the primer to dry completely, following the manufacturer’s recommended drying times to ensure the best results.
Step 6: Paint the Stucco
With the surface properly prepped and primed, it’s time to move on to the main event. Here’s how we ensure a top-quality finish:
- Selecting Paint: We choose only the best exterior paints specifically designed for stucco, such as acrylic or elastomeric paint. These paints are favored for their flexibility and excellent weather resistance, key attributes for the unique demands of stucco surfaces.
- First Coat: We apply the first coat using a paint sprayer, which helps achieve even coverage across the textured surface of the stucco. This method ensures that all nooks and crannies are covered, providing a thorough base layer.
- Drying Between Coats: After the first coat, we allow it to dry completely, which typically takes about 4-6 hours. However, we always follow the specific drying times recommended by the paint manufacturer to ensure the best results.
- Additional Coats: Depending on the coverage and the project requirements, we usually apply a second coat to enhance durability and ensure uniform color. If necessary, a third coat may be added to achieve the desired finish and depth of color.
Step 7: Finishing Touches
In the final steps of how to paint stucco exterior walls, our dedication to detail truly shines through. Once the painting is complete, we begin by carefully removing the painter’s tape from all the areas we protected. This process is done with precision to ensure that we leave behind clean, crisp lines without damaging the fresh paint.
Next, we conduct a thorough inspection of the painted surfaces. Any areas that might have been missed or show imperfections are touched up with a small brush to guarantee a seamless finish. Finally, the cleanup process is comprehensive; we clean all brushes, rollers, and painting tools, and responsibly dispose of all used drop cloths and other materials. Our goal is to leave your property not only transformed with a beautiful new coat of paint but also completely spotless.
Final Thoughts
We’ve gone through the detailed steps on how to paint stucco exterior walls, highlighting the importance of choosing the right materials, preparing the surface properly, and applying the paint meticulously to ensure a durable and attractive finish. This process helps protect the stucco from the elements, extending the life of your home’s exterior.
At FR Contractors and Investors, Inc., we understand that painting the exterior of your home can seem like a daunting task, especially with materials as challenging as stucco. That’s why our house painting services are designed to handle all the complexities for you. From the initial consultation where we discuss your vision and inspect the state of your exterior, to carefully mapping out the timeline and steps we will take, we ensure every detail is covered. Serving Sparks Glencoe, Roland Park, MD, and surrounding areas, we are here to assist you with your home painting needs, guaranteeing quality and satisfaction.
If you’re looking to refresh your home’s exterior with professional and reliable service, call us at 443-775-2994 for a FREE estimate!


